 |
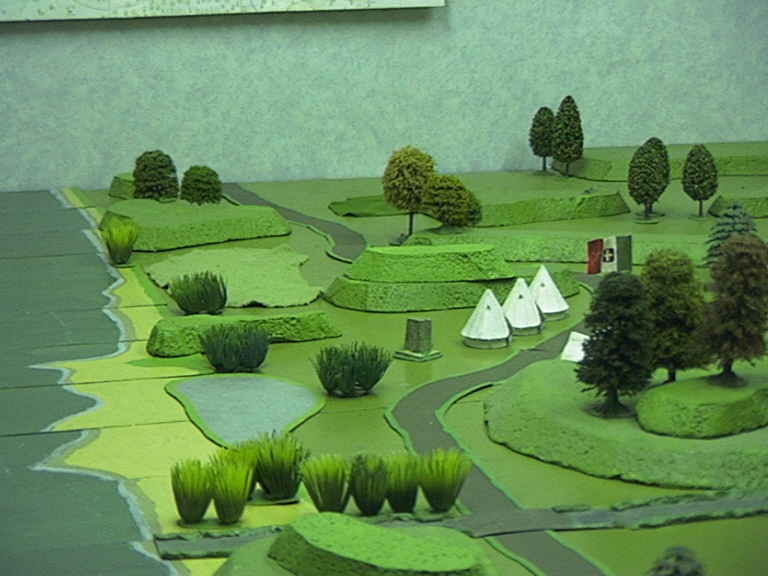
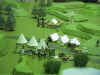
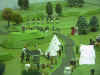
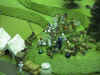
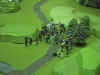
The Professor's camp on the banks of the Izastoni River only
a few short miles from Lhedu, Binky's destination.
The river is made from cereal packets cut into
sections and painted in metallic colours for the water and sandy yellow -
well for the sand. The hills are our usual polystyrene, the reeds
are plastic aquarium plants and the trees come from a variety of
commercial sources. |
 |
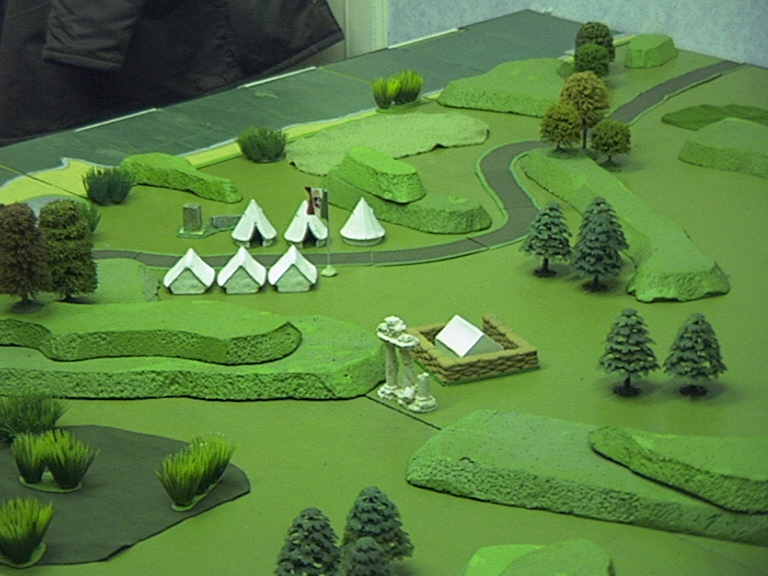
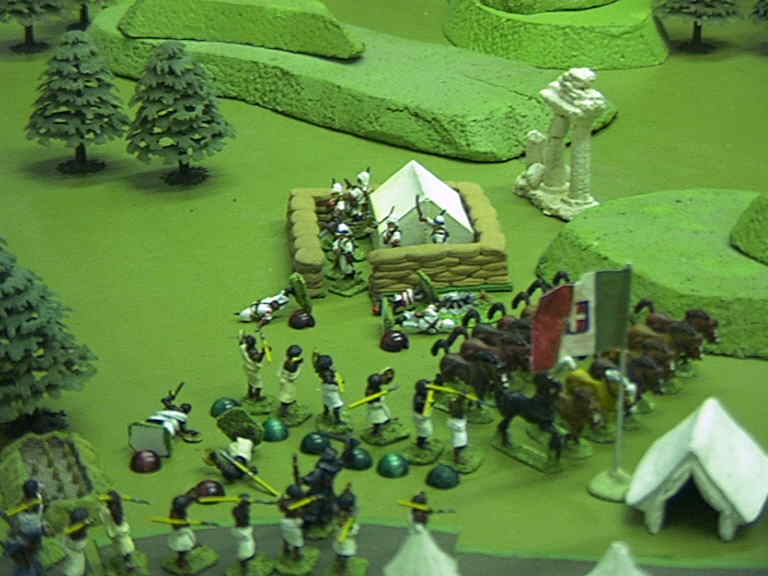
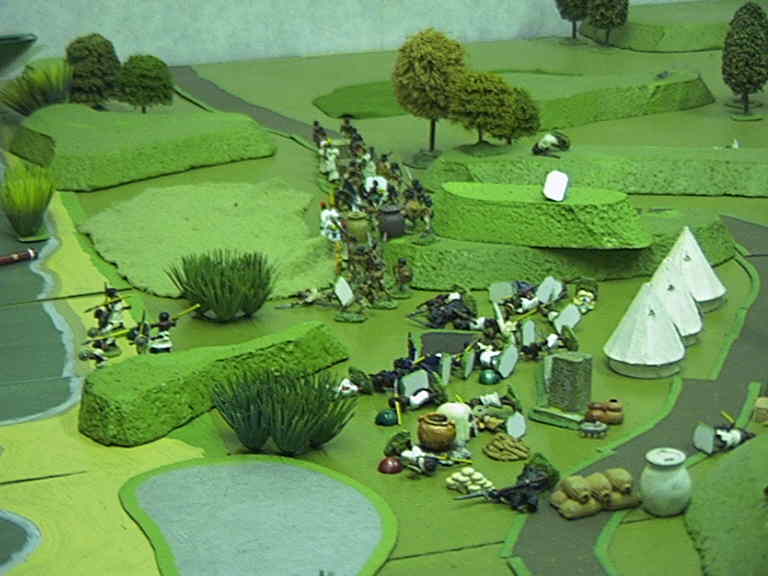
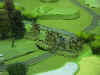
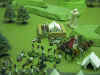
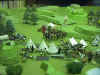
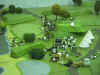
This view shows the Italian fortlet.
The tents are Village Green, Frontline Miniatures
and maybe others' resin models. The mealie bag emplacement was
picked up at a bring and buy sale for a few pence. Some of the trees
are the old plastic Merit Alder Trees. The Roman Ruin is another
aquarium decoration. |
 |
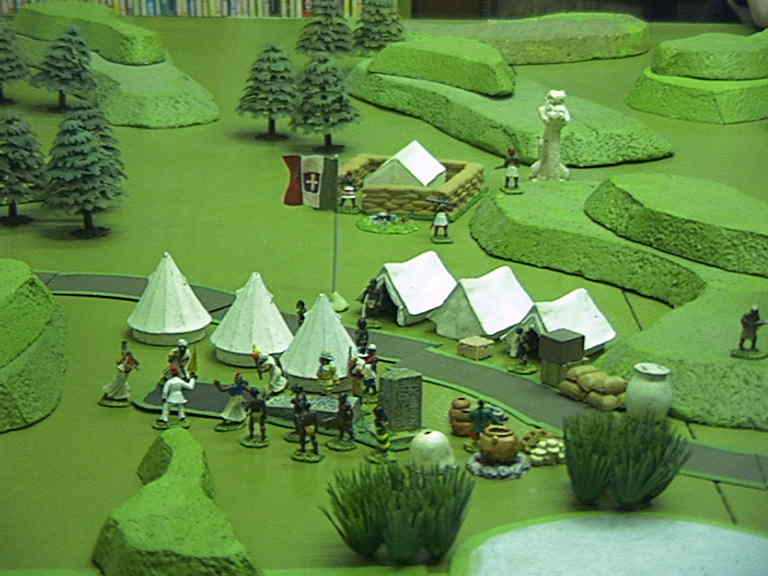
The camp is an active site. The
Italian troopers are concealed from the "Grey Ghost" just now.
The figures area mix of Foundry, Copplestone,
West Wind and others. |
 |
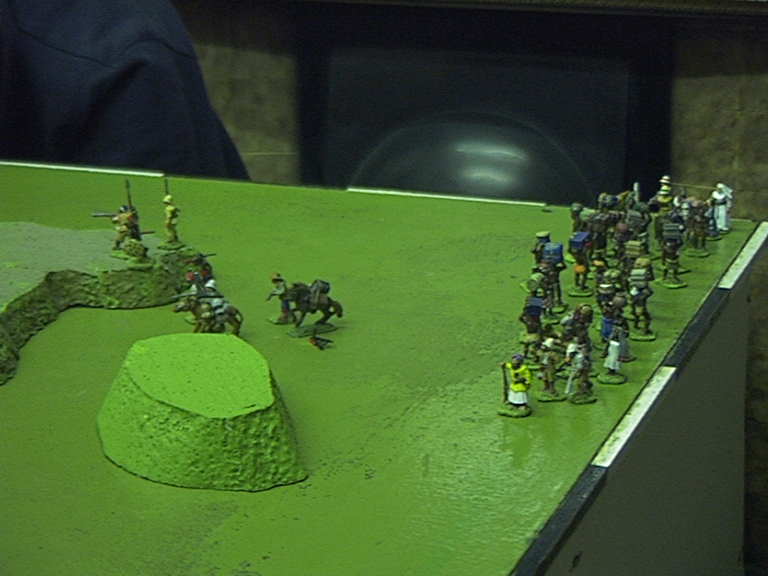
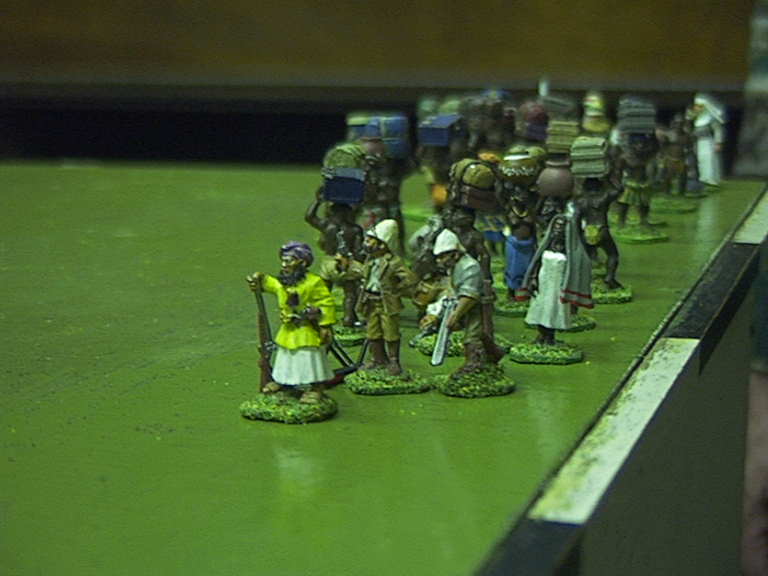
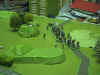
Enter Binky and friends! The
main column is lead by our redoubtable hero. Off to the flank Adrian
and Gerald scout the terrain for difficulties. All are tired out and
the promise of clean water to drink is almost unbearable. |
 |
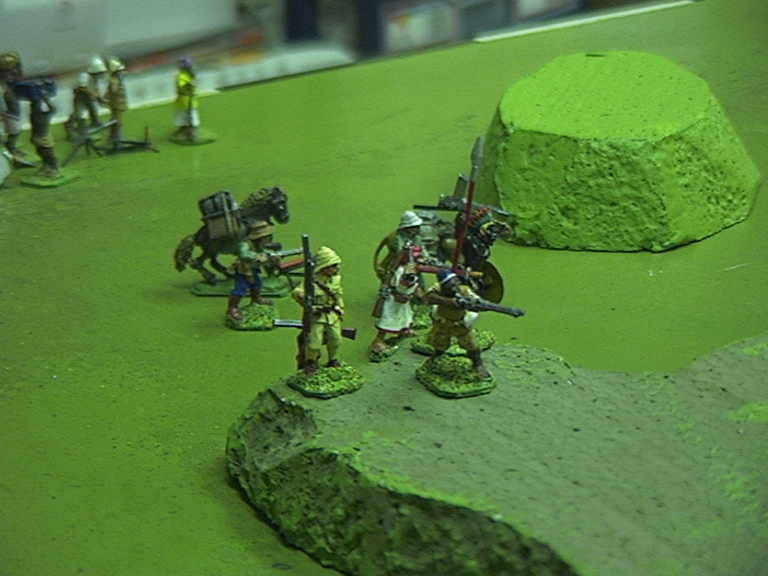
Adrian takes the lead with his scouts
deployed. Behind him Gerald keeps a sharp watch - his Nordenfeldt on
its mule is ready for instant use. |
 |
Big Sam leads the way. Behind him is
Binky - ready for anything.
Slim's table is surrounded by black and white
markings. Each is 6 inches long and these help us with range
estimation, placing features and a host of other useful purposes.
Brilliant idea Slim! |
 |
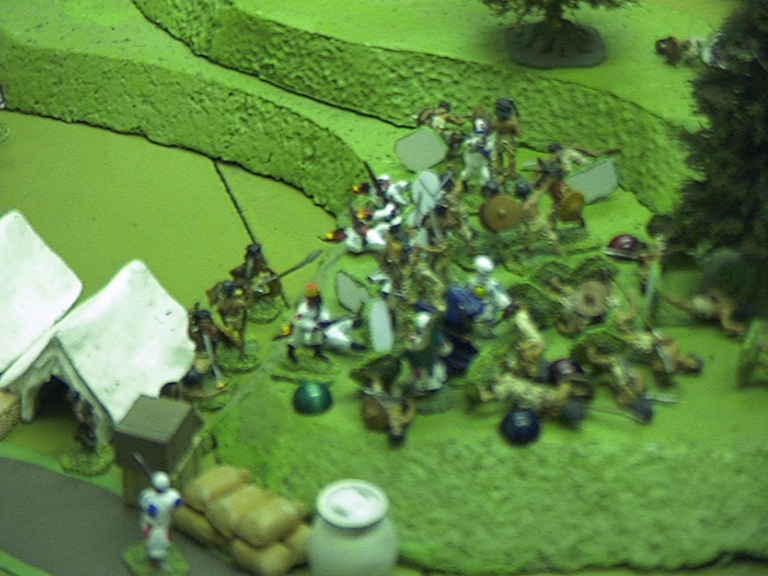
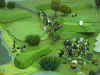
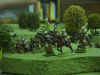
During the night the Grey Ghost's men
have used the cover of the stream banks to close up to the camp. The
Italian Officers (fortunately) have prepared some field defences to slow
them down. Nearly 40 howling warriors erupt from cover. The
sentry fires off a warning shot.
The Dervishes are from a variety of manufacturers
- Redoubt (the BIG fellows), Ral Partha (little chaps), Britannia and The
London War Room amongst others. |
 |
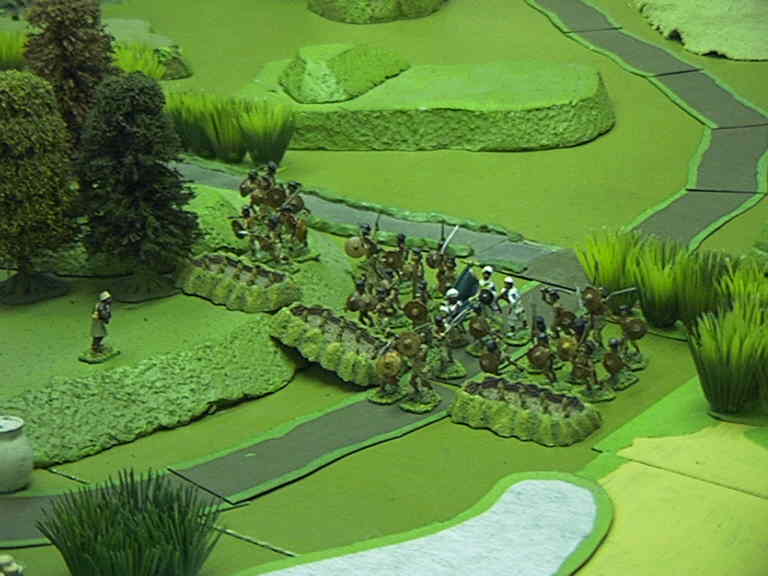
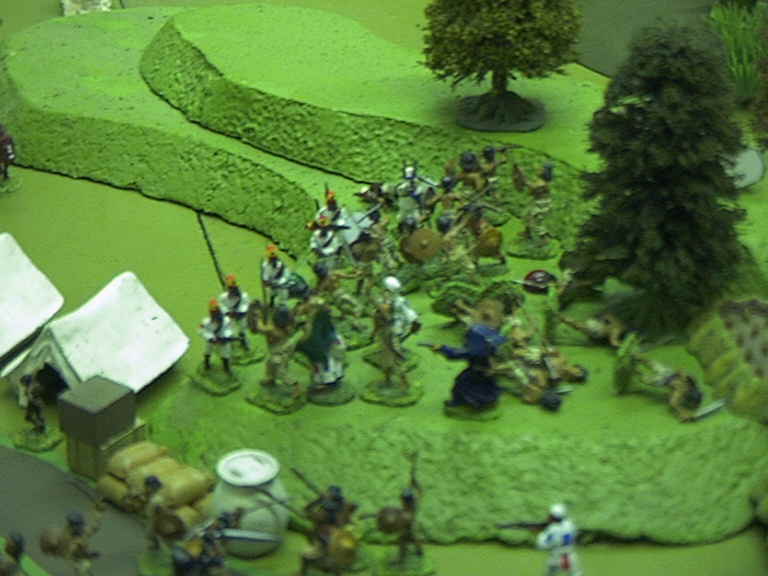
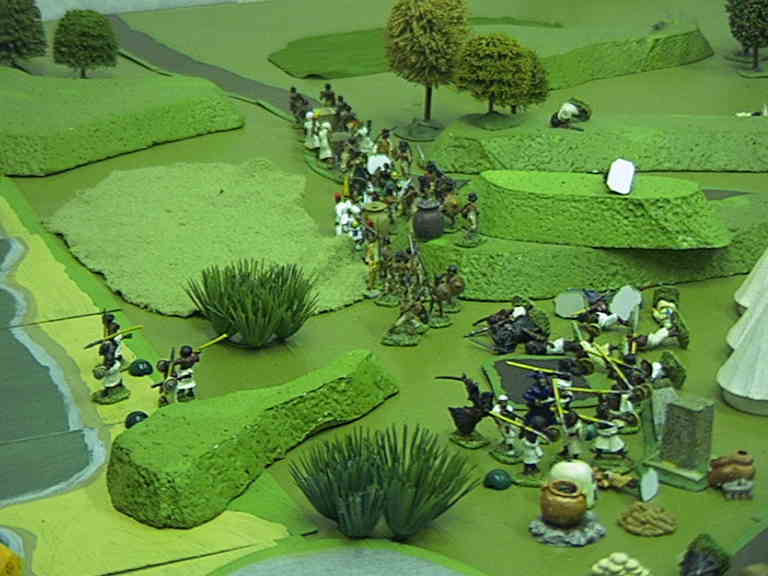
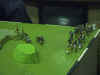
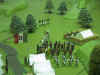
Meanwhile on the other side the
spearmen burst from cover. They are supported by some rather
ineffective musketry. The Professor (the tubby chap, lower centre)
is in trouble. |
 |
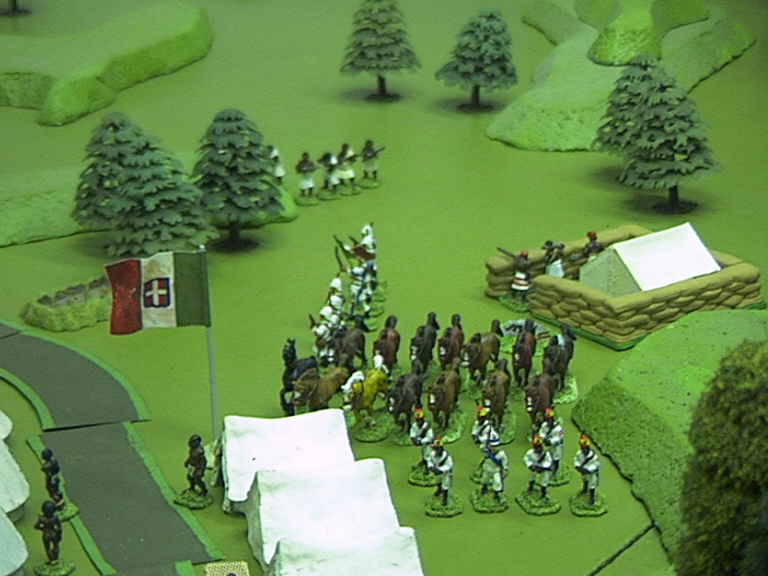
The Italians deploy!
The dismounted troopers are all conversions of
Falcon UK figures. The flag comes from WARFLAG (see Links for this
fabulous resource) |
 |
Things are really desperate for the
Penne de Falco. No matter how many they shoot down more howling
savages take their place. |
 |
The Italians in the fortlet hold their
own - cutting down their attackers in a display of excellent
marksmanship. They kill two and wound 6 assailants stopping the
charge in its tracks.
The markers are cheap wooden beads cut in
two. Green = Wounded, Red = Crippled and Black = Dead although we
try to use casualty figures. Also sometimes we use an Irregular
Vulture to show a dead body. |
 |
The desperate fight is mirrored by the
shaky hand of the photographer. Only the officer and the sergeant
are left standing and they have killed or crippled over half their
attackers. They have not given an inch and the horse lines are still
safe. |
 |
Help is on its way. Binky's
column has dealt with snipers and delaying units but is closing in quickly
now. On the other side of the camp Adrian and Gerlad are close as
well. They, too have had snipers and pockets of riflemen to deal
with. |
 |
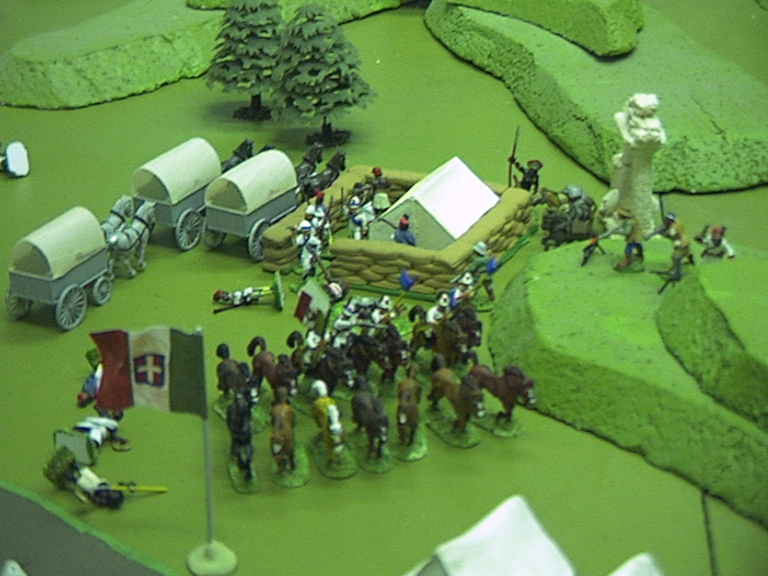
The camp is over run and the Grey
Ghost reveals himself! He was impersonating a servant in the camp
and he seizes Prof Incontinente and resistance collapses. At the top
of the picture Adrian Gerald are approaching. At the left the supply
wagons fight their way in.
The wagons are Lledo Brewer's drays (picked up
quite cheaply when Beatties's closed down) with the barrels removed and
canvas tilts added. The tilts were made from some fabric blind
leftover bits I had but paper could be used just as well. |
 |
Gerald brings his Nordenfeldt into
action and launches a Hales Rocket. The Italian cavalry under this
covering fire rush to their horses and mount. The Machine gun does
its deadly work. Gerald calls out "Gioca Morte" -
"Play Dead". Too late, the Professor falls crippled as the
Grey Ghost slashes at him. The Grey Ghost is caught in a burst of
fire and his cult falls with him.
The Nordenfeldt and the Hale's Rocket are made
from plastic strip. I have two very nice Hale's Rockets from the
London War Room that will eventually complement my plastic ones. |
 |
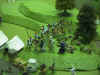
Carnage in the camp as the Grey
Ghost's troops try to escape with the treasures. |
 |
Binky brings his Nordenfeldt into
action adding to the slaughter. In the course of this Big Sam is
sorely wounded. |
 |
Caught in the crossfire from Gerald's
and Binky's machine guns and the deadly accurate fire of Adrian's rifle
the Grey Ghost's rearguard are wiped out and his crippled body left on the
field. Achmed Tokar, Adrian's sergeant fires a long burst killing 6
of the enemy. |
 |
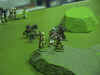
The Lancers charge! They strike
with a vengeance on their attackers. They inflict huge casualties on
the tribesmen who slaughtered the Penne de Falco troop. Although not
a rider was injured several horses were wounded. |
 |
The lancers break through driving all
before them. |
| |
In the end Binky and party were the
instruments of victory. Only Big Sam was injured. All the
treasures were recovered and safely escorted to Lhedu.
Professor Incontinente, his foreman and
cook survived although the hunter and askaris died protecting
him. Indeed he had heard the call and dropped flat playing dead
until the fighting was over. He had received a few minor cuts and
bruises from stones thrown up by the gunfire and a nasty cut on the thigh
from a spear thrust.
The tribesmen lost heavily, the Grey Ghost was
captured, all of his leading cultists were dead or captured crippled, the
Beja tribesmen lost 31 dead, 3 captured and 7 escaped (3 of these wounded)
and the Somalis 16 dead, 5 captured crippled and only 1 escaped. All
the cultist riflemen lay dead on the field.
The Italians lost the whole Penne de Falco troop,
the Sergeant and a trooper crippled and 4 dead. 2 lancers were
killed along with 3 of the wagon escort. |